Tiramisu without cream is the only tiramisu I make, and considering how seriously my daughter and I take this dessert, I think I have enough experience to stand by that statement.
I have made it so many times that I don’t really think about the process anymore. But it wasn’t always like that. Tiramisu is one of those desserts that looks incredibly simple until you start making it. There are only a few components, yet getting the texture just right takes a little practice.
So if your first tiramisu isn’t perfect, make another one. That’s probably the best advice I can give you. There is a little bit of instinct involved, particularly when it comes to the coffee, and you only really develop that by making it a few times. The good news is that even the imperfect ones usually taste pretty good.
The Dessert That Always Comes With a Spoon
Tiramisu has been part of my life for years. It was one of the desserts I would always make for ladies’ nights with my friends. The formula wasn’t particularly sophisticated: one big bowl of tiramisu and enough spoons for everyone.
My daughter, however, wanted absolutely nothing to do with it for a long time. She doesn’t like coffee, so a dessert soaked in strong coffee wasn’t exactly an easy sell. I wasn’t particularly determined to convince her either. If she didn’t want tiramisu, there was more for me.
Then one day she decided to be brave and finally find out what it was about this dessert that made it appear in our fridge so often. She tried it.
And that was it.
Since then, she has become just as addicted to it as I am. Now we make it at least twice a month, and when one of us says “tiramisu night”, we both know exactly what that means: a big bowl of tiramisu, two tablespoons, a three-hour movie and a really good evening together.
At this point, we’re so faithful to tiramisu that we could probably make a religion out of it. I have a feeling this little tradition will stay with us for a very long time. One day life might put more distance between us, but until then, and hopefully whenever we find ourselves together again, there will always be room for a tiramisu night.
Some traditions don’t need to be complicated. Sometimes all you need is someone you love, a good movie and one ridiculously large bowl of tiramisu.
Why I Don’t Add Whipping Cream
I’ve seen so many recipes that add whipping cream to tiramisu, and I’ve never really understood the need for it. Mascarpone is already a beautifully rich, high-fat cheese. I don’t need another cream to make it richer.
Instead, I separate the eggs and whip the whites and yolks. That’s what gives my mascarpone mixture its light, airy texture. After a few hours in the fridge, it becomes beautifully creamy while still feeling light rather than heavy and overly rich.
For me, that’s exactly what tiramisu without cream should be. Rich enough from the mascarpone, but lightened by the whipped eggs so you still want to go back for another spoonful. And then perhaps another one.
I Heat the Eggs First
Because the eggs remain part of the finished cream, I don’t simply crack raw eggs into the mascarpone. I separate them, divide the icing sugar between the two bowls and heat them separately over a double boiler.
I bring the egg whites and sugar to 70°C while stirring, then immediately whip them until they are firm and stable, with no liquid separating at the bottom. I repeat the process with the yolks and their portion of sugar, heating them to 70°C and then whipping them until light.
The whole 500 g of mascarpone goes into the whipped egg whites. I mix it on low speed, then add the whipped yolks and gently combine everything.
The Ladyfinger Problem Nobody Explains Properly
This is probably the trickiest part of making tiramisu, and writing “dip the ladyfingers in coffee” doesn’t really explain it.
They need enough coffee to become completely soft once the tiramisu rests, but they can’t sit in it for so long that they turn to mush in your hands. Finding that point took me a few tiramisus.
I’ve gone too far and absolutely drenched them. I’ve even squeezed coffee back out of an over-soaked ladyfinger like you would squeeze water from a cleaning cloth, then scattered the pieces into the dish to rescue the layer. Not particularly elegant, but it works.
Under-soaking them can actually be worse. You put your spoon through this beautiful, light mascarpone cream and then suddenly hit a dry, crunchy, sugary biscuit in the middle. You still eat it because the cream is delicious, obviously, but it isn’t the tiramisu you were hoping for.
Don’t give up if that happens. The more often you make it, the better you become at judging the coffee. Eventually you stop thinking about seconds and simply know from the feel of the ladyfinger when it’s ready.
I’ve had my share of drenched tiramisus and overly dry ones. Consider them practice. There are definitely worse things you could have to practise eating.
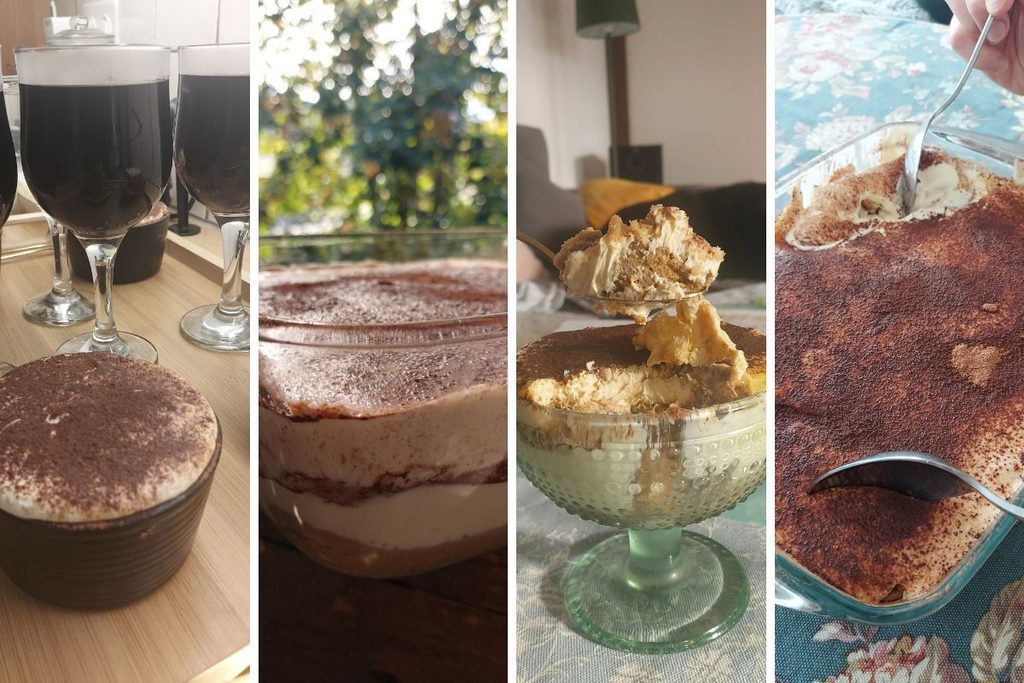
Cocoa Doesn’t Belong Only on Top
I use real cocoa powder and like to choose a good-quality organic one with a simple ingredient list. When possible, I also look for cocoa that has been independently tested for heavy metals.
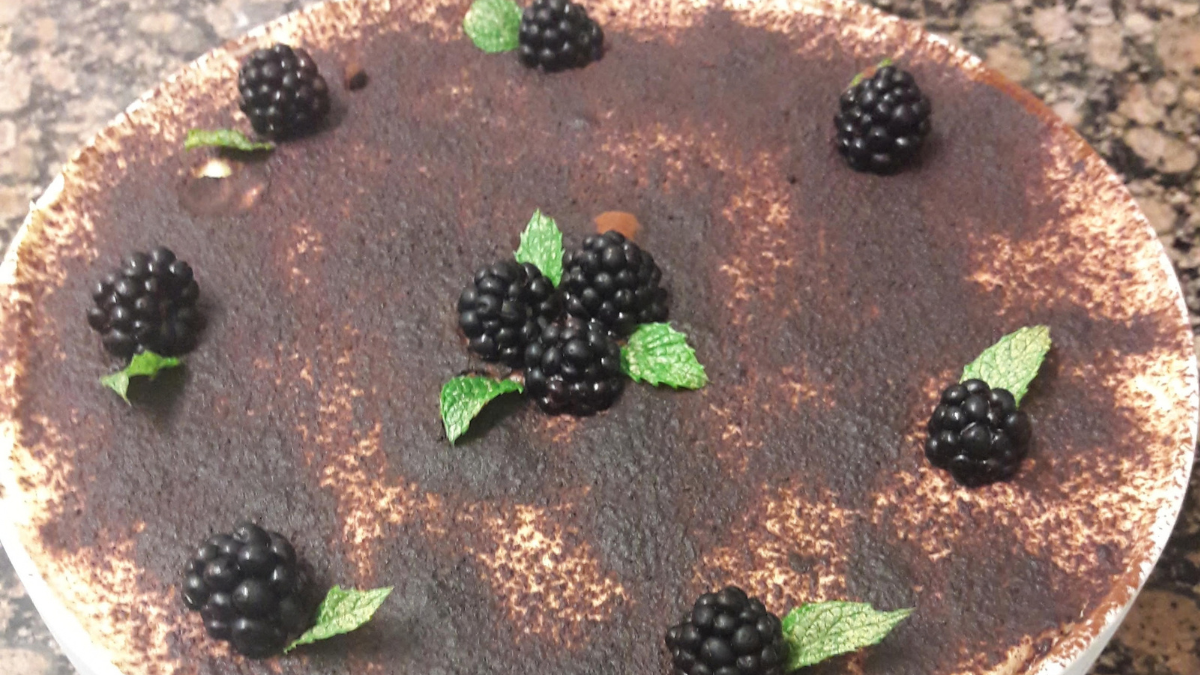
I don’t wait until the very end to use it either. I dust cocoa between the layers as I build the tiramisu, then add another generous layer over the top.
That little bitterness matters. You get coffee, mascarpone, sweetness and cocoa together throughout the dessert rather than having lots of cocoa in the first spoonful and almost none once you get deeper into the bowl.
And No, I Don’t Put Alcohol in It
This isn’t an accidental alcohol-free version or something I changed to make the recipe more family friendly. We simply prefer tiramisu without alcohol.
My daughter and I have actually learned this lesson the hard way more than once. A few times we’ve been sitting in a café, spotted tiramisu on the menu and immediately got excited. Then came the first bite, followed by both of us looking at each other like, oh no… we forgot. They put alcohol in it.
And that was pretty much it. The alcohol flavour ruined the whole dessert for us and we never even finished it. You would think once would have been enough, but apparently we needed to repeat the experience a few times before it finally sank in.
These days it’s firmly engraved in our memory: tiramisu outside our house may come with alcohol. We don’t forget anymore.
Perhaps we just don’t understand the Italian vision. Maybe we’re missing something, and I’m perfectly happy to accept that. For us, strong coffee gives tiramisu everything it needs. I want to taste the coffee against the mascarpone, cocoa and sweetness, not have alcohol competing with all those flavours.
So in our house, tiramisu stays alcohol-free. After all these years and quite a few bowls of it, I don’t think either of us is going to change her mind.
Give It Time in the Fridge
As tempting as it is to attack the bowl immediately, this dessert really does need time. A few hours in the fridge changes everything. The cream settles while staying light and creamy, the ladyfingers continue absorbing the coffee, and all those separate layers become one proper tiramisu.
It’s also why getting the coffee right matters. A ladyfinger that might seem just slightly firm when you’re assembling the dish can be perfect several hours later.
If you’re making it for friends, making it ahead is actually ideal. It was one of the reasons I loved serving tiramisu for ladies’ nights. Dessert was already sitting in the fridge waiting for us, and all I needed was enough spoons.
My Kind of Tiramisu
There are plenty of ways to make tiramisu, and I’m not going to pretend mine is the only correct one. This is simply the version that survived years of making it in my kitchen and became the one my daughter and I love.
It’s a tiramisu without cream, without alcohol and with cocoa tucked between the layers rather than only scattered over the top. The eggs are heated, the coffee is strong and the cream is light and airy, with all the richness it needs from the mascarpone.
And if your first attempt comes out slightly drenched or you discover one stubbornly crunchy ladyfinger in the middle, welcome to the club. Make it again. Eventually you’ll get the soaking just right.
Then all you need is someone to share it with, a good movie and a spoon.
Tiramisu Without Cream – The Recipe We Could Practically Start a Religion Around
Course: DessertCuisine: Italian – inspiredDifficulty: Easy8
servings25
minutes450
kcalIngredients
For the mascarpone cream
500 g mascarpone
3 large eggs, separated
80 g icing sugar, divided equally between the egg whites and yolks
For the coffee layers
300 ml water
35 g ground coffee, brewed strong and left to cool
1 big bag Ladyfingers / Savoiardi
For layering
Good-quality unsweetened cocoa powder
Directions
- Make the coffee.
Brew 300 ml of very strong coffee and leave it to cool completely. I use approximately 35 g of ground coffee to 300 ml of water. - Separate the eggs.
Place the egg whites in one heatproof bowl and the yolks in another. Divide the icing sugar equally between the two bowls. - Heat the egg whites.
Place the bowl with the egg whites and sugar over a double boiler. Make sure the bottom of the bowl doesn’t touch the water. Stir continuously and heat until the mixture reaches 70°C. - Heat the egg yolks.
Place the bowl with the yolks and remaining sugar over the double boiler. Stir continuously and heat to 70°C. Remove from the heat and immediately whip until the mixture becomes lighter and airy. - Make the mascarpone cream.
Add the 500 g mascarpone to the whipped egg whites. Mix briefly with an electric mixer on low speed, just until combined. Add the whipped egg yolks and mix gently on low speed until you have a smooth, light and airy cream. Don’t overmix. - Soak the ladyfingers.
Pour the cooled coffee into a shallow dish. Dip each ladyfinger into the coffee just long enough for it to absorb plenty of coffee without becoming mushy. This can take a little practice. You want them well soaked, but still firm enough to lift and arrange in the dish. - Build the first layer.
Arrange the coffee-soaked ladyfingers closely together across the bottom of your dish. Spread a layer of mascarpone cream over them, then lightly dust with cocoa powder. - Continue layering.
Add another layer of coffee-soaked ladyfingers, followed by mascarpone cream and another dusting of cocoa. Continue until you’ve used the ingredients, finishing with mascarpone cream on top. - Chill.
Cover and refrigerate for at least 4–6 hours, although I prefer giving it longer when possible. This gives the ladyfingers time to soften completely and allows the cream to set while staying light and creamy. - Finish with cocoa.
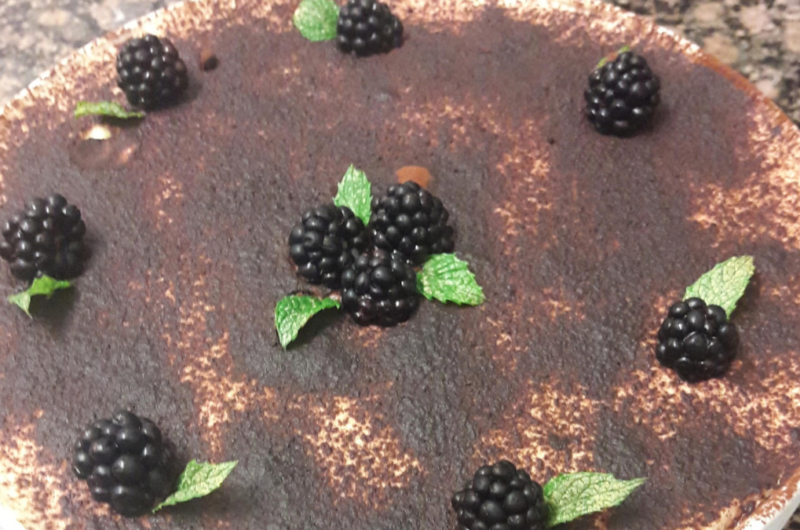
Before serving, dust the top generously with good-quality unsweetened cocoa powder. Serve well chilled.
Notes
- Cocoa powder.
I prefer to use good-quality organic cocoa with no unnecessary additives. When possible, I also choose a brand that independently tests its cocoa for heavy metals such as cadmium and lead.
Ladyfingers.
I usually buy a large 400 g bag of Savoiardi containing four rows of biscuits. For this tiramisu, I normally use around 3 to 3½ rows, approximately 300–350 g, depending on the size and shape of the dish.
Egg Temperature.
I recommend using a digital kitchen thermometer when preparing the egg mixture. It makes the process much easier, especially if you’re making tiramisu this way for the first time.
I heat the egg whites and yolks separately with their portion of sugar over a gentle double boiler, stirring continuously until the mixture reaches 70°C (158°F).
Keep the heat gentle and make sure the bottom of the bowl doesn’t touch the simmering water. Measure the temperature of the egg mixture itself, not the water underneath.
Be particularly careful with the yolks, as overheating can cause them to thicken too much or scramble.
For food safety, use pasteurised eggs, particularly when serving anyone at higher risk of foodborne illness. Heating the eggs briefly to 70°C should not be assumed to provide a validated pasteurisation process.